A socket set makes small nuts and bolts feel straightforward until a socket rocks, the ratchet slips, or a head begins to round. You can avoid many of those problems by slowing down before the first loaded turn and checking the fit as carefully as the direction.
This guide is for ordinary hand-tool selection and controlled bench work. Vehicle, structural, pressurized, electrical, and other consequential assemblies need their own service procedures, support arrangements, and tightening specifications.
Identify the fastener before choosing the handle
Look at the fastener in good light and clean away loose debris by a method appropriate to the equipment. You need to see its actual shape rather than the outline of paint, rust, or packed dirt.
Check the assembly instructions or parts information for the fastener type. An external hex head, an external star-shaped head, and a recessed hex socket can appear similar when you are working in a dark corner, but they call for different tools.
Also identify what the fastener is holding and what could move when it loosens. Do not begin on a loaded spring, a suspended component, or an unfamiliar safety-critical assembly just because a socket fits.
For a first practice session, use a secured noncritical fixture or spare nut and bolt rather than a real repair you cannot afford to damage. You can learn seating and ratchet direction without creating a second problem.
Keep metric and SAE sizes separate
The size printed on a socket describes the fastener opening, while the square drive size describes its connection to the handle. A large drive does not tell you whether the socket’s opening is metric or inch-sized.
Metric and SAE sizes can look close without being interchangeable. CCOHS advises selecting the correct wrench type and size to avoid slippage, so do not choose a nearby fraction merely because your metric tray has an empty slot.
Use the size specified for the fastener when it is known, then confirm the fit with the socket straight and fully seated. If the marking is difficult to read, move to better light rather than making the tool prove its size under force.
Organize the two systems in clearly separated rows or containers. A few seconds of labeling are worthwhile when you are returning several similar-looking sockets after a mixed repair.
Match the opening to the head
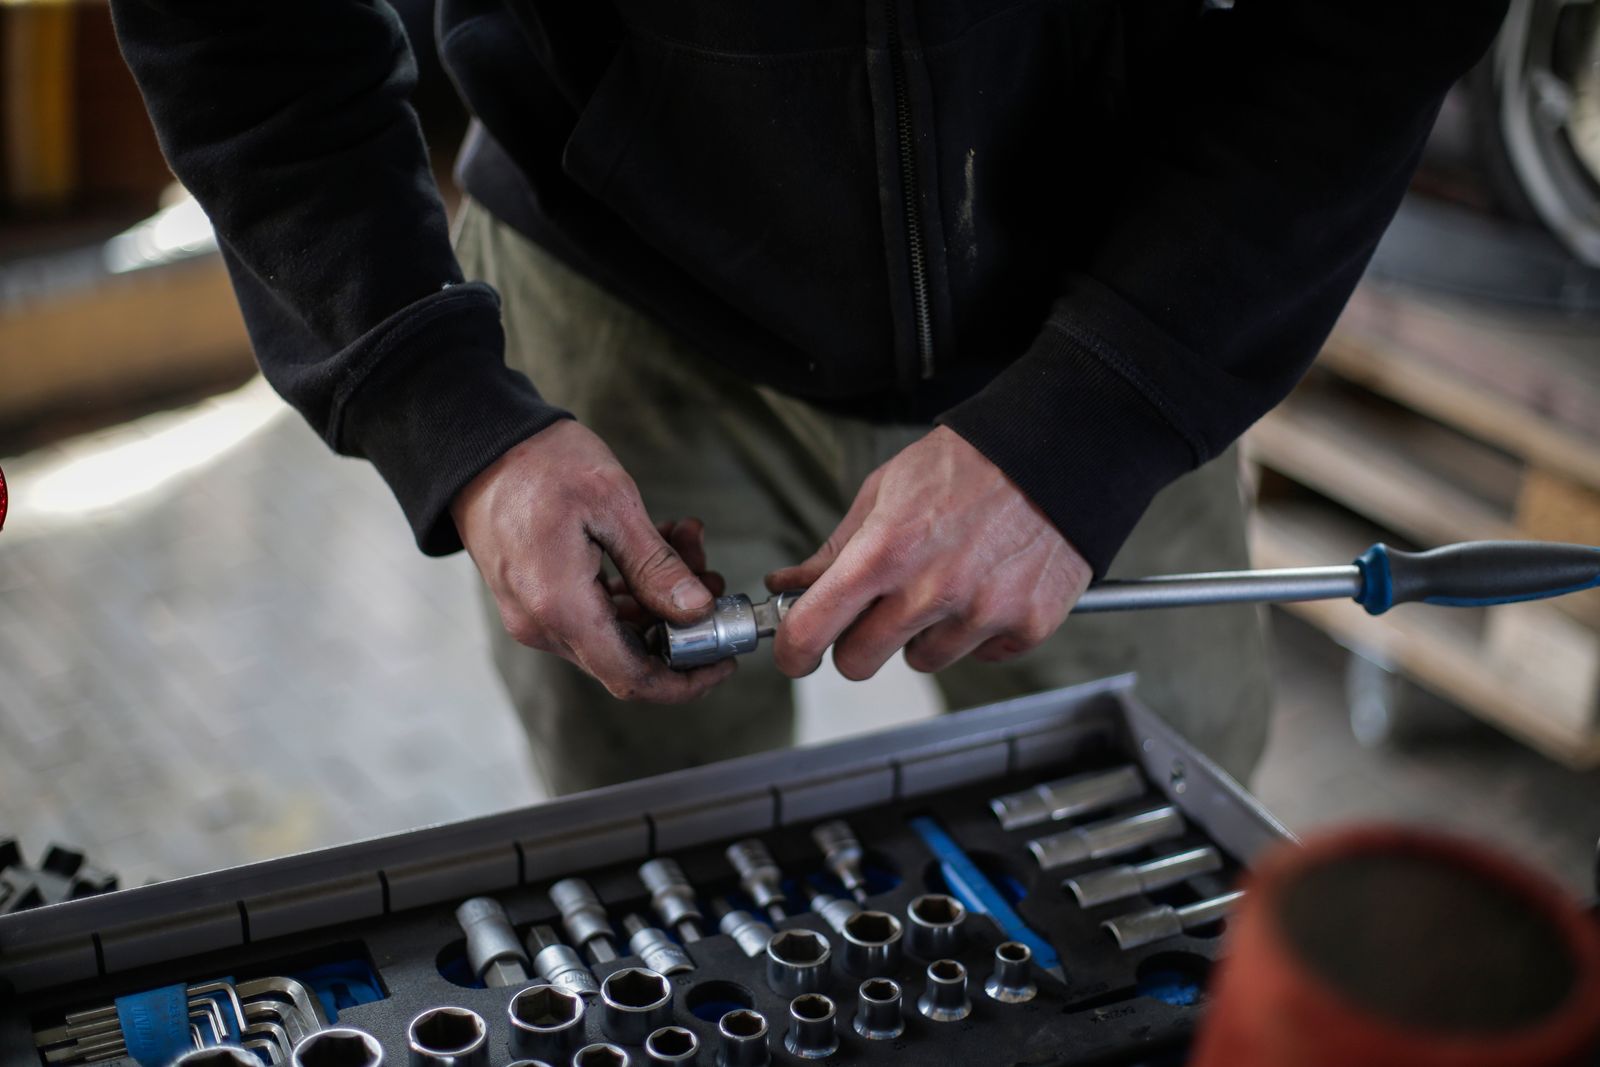
Count the fastener’s points rather than assuming every head is a hexagon. TEKTON’s guidance recommends a six-point socket for a six-point fastener and a twelve-point socket for a twelve-point fastener.
A twelve-point opening offers different engagement positions, but that does not make it the default answer for a damaged hex head. Choose the intended shape and size first; access problems deserve a separate solution.
Modern socket profiles may use relieved corners to load the flats of a fastener. TEKTON documents that geometry for its six-point hand sockets, but you should not read a manufacturer’s design claim as a guarantee that any damaged bolt is safe to turn.
If the corners are already rounded, pause before trying successively looser sockets. Photograph the condition and identify a suitable repair procedure or get help before the remaining grip disappears.
Check depth and full seating together
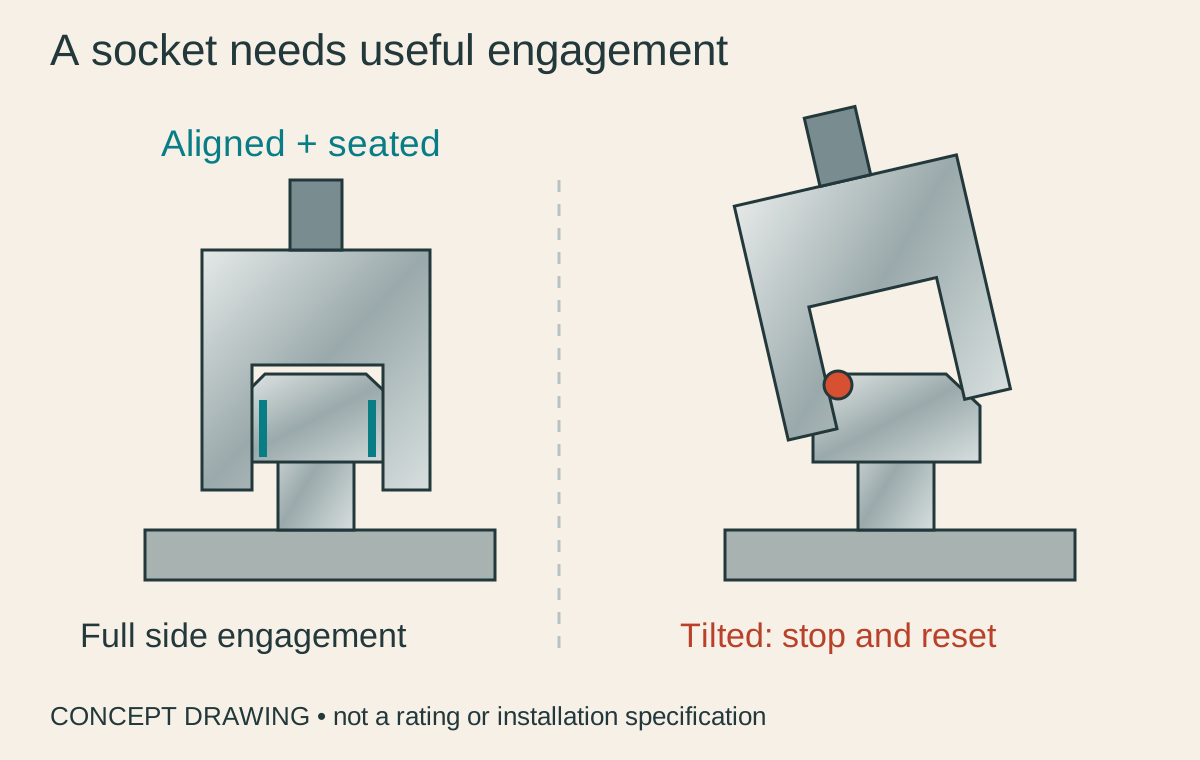
A socket needs to reach the usable fastener surfaces without bottoming against something else first. A stud projecting through a nut may require a deeper socket, while nearby bodywork may limit how much tool can fit above it.
Place the socket by hand and inspect from the side when you can. You want the intended engagement, not a socket resting on the first sliver of the head because a washer, bracket, or protruding stud is in the way.
Try the shortest suitable arrangement that gives clear access to the fastener and a controlled handle path. Extra attachments can solve a real reach problem, but adding them out of habit makes the setup harder to observe.
With a socket extension, support the head as CCOHS recommends and keep the tool aligned. If you must lean the assembly noticeably to miss an obstacle, stop and choose an approved access method rather than loading the socket on an angle.
Distinguish hand-drive and impact equipment
Read the tool and accessory markings before connecting anything to a powered impact tool. Use sockets and every connecting accessory specifically rated by their manufacturer for that tool and application.
Color alone is not a reliable identification system for an unfamiliar socket. A black finish may look like impact equipment, yet you still need the actual product identification and instructions.
TEKTON separately describes its impact-drive sockets and accessories, including their intended impact use. That is the kind of explicit documentation to seek instead of assuming a hand socket becomes suitable because it fits the same square.
For a beginner practicing basic socket use, a hand ratchet keeps the operation easier to pause and inspect. A powered tool does not solve uncertainty about thread direction, fit, assembly loading, or the correct tightening procedure.
Make the first loaded turn deliberate
Before applying force, confirm the ratchet’s selected direction with the tool away from the fastener. Then seat it again and check where your hand and body would go if the fastener suddenly moved.
Use a slow, steady pull with balanced footing, following CCOHS’s wrench guidance. Start with a small controlled load to confirm that the ratchet mechanism has engaged.
Keep your hand away from a pinch point between the handle and nearby structure. If there is no clear travel for a controlled stroke, rearrange access before committing more force.
Watch the socket and fastener rather than staring only at the handle. If the socket begins to lift, tilt, or visibly move independently of the head, release the load and reassess immediately.
A fastener that will not move is a reason to identify the cause and appropriate removal method. Do not add a pipe, strike a normal ratchet, or use your body weight to improvise more leverage.
Treat reassembly as its own job
Keep removed hardware grouped with the component it belongs to, including any washers or spacers. A tray labeled with the location is more useful than a pile of nearly identical bolts.
Inspect the threads and mating parts as the service instructions require before reassembly. If a fastener will not start correctly by the prescribed method, do not use the ratchet to force it past the resistance.
When a torque value or tightening sequence is specified, use the exact procedure and an appropriate torque tool. A hand ratchet tells you that a fastener is becoming harder to turn, not that the assembly has reached a documented specification.
Do not add lubricant or thread treatment unless the applicable instructions call for it. You need the specified fastener condition as well as the correct tool and units, especially when a measured tightening value matters.
Return a complete, readable set
Wipe the tools and inspect them for cracks, deformation, damaged drive connections, or a ratchet that behaves inconsistently. Remove suspect equipment from use rather than letting the next project become its test.
Return sockets in size order and replace a missing frequently used size with an appropriate match. An obvious empty labeled position is better than filling it with a near-size substitute that may confuse you later.
Record any fastener you stopped working on and why, especially if the assembly remains incomplete. A clear note prevents someone from assuming that a partly reassembled object is ready to use.
Your aim is a repeatable sequence: identify, fit, seat, align, and turn under control. Once that becomes routine, the socket set feels faster because you spend less time correcting avoidable damage.
Before closing the case, count the tools you brought to the work area and check for anything left in the assembly. Keeping a small job inventory is especially helpful when you have moved between a bench and another location during the same repair.
Leave your work area as readable as the socket tray, with completed work and unfinished work clearly identified.