A useful small workbench gives you a place to hold the project, move the tool, and put things down without playing a balancing game. You can make that happen in a garage corner or a shared room, but you need to plan the working space around the bench as carefully as the top itself.
Start with the jobs you actually expect to do: assembling a drawer, drilling a bracket, or sanding a small board. A bench that suits those jobs can be modest; a bench that tries to support every possible future project usually becomes permanent storage.
Plan a project, then place the bench
Pick a representative project and lay its parts on the floor where you want the bench to stand. Include the clamps, a tool case, and the piece of material that sticks out beyond the top.
Now imagine carrying that assembly through the door and turning it over halfway through the work. If you must move the refrigerator, block an exit, or step over stored lumber, the location needs another look before you buy anything.
You do not need a universal aisle measurement to discover an obvious conflict. Open nearby doors fully, pull drawers out, and walk your normal route with a bulky empty box that represents the project.
Choose a position where you can work with your body facing the task instead of twisting around a corner. If your work changes between careful marking and forceful handwork, consider whether separate temporary surfaces would serve you better than one compromise height.
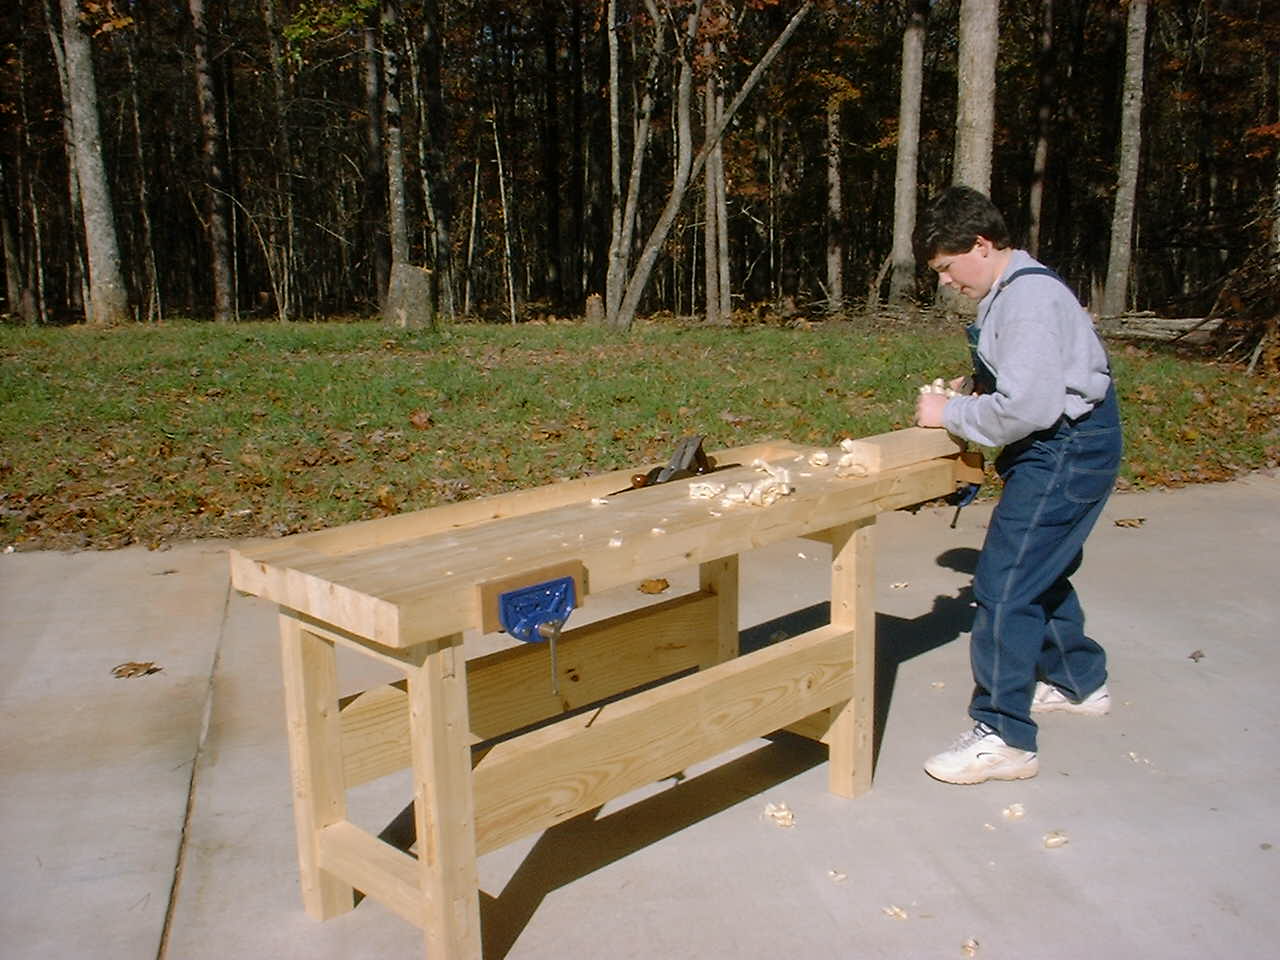
Give the base a fair test
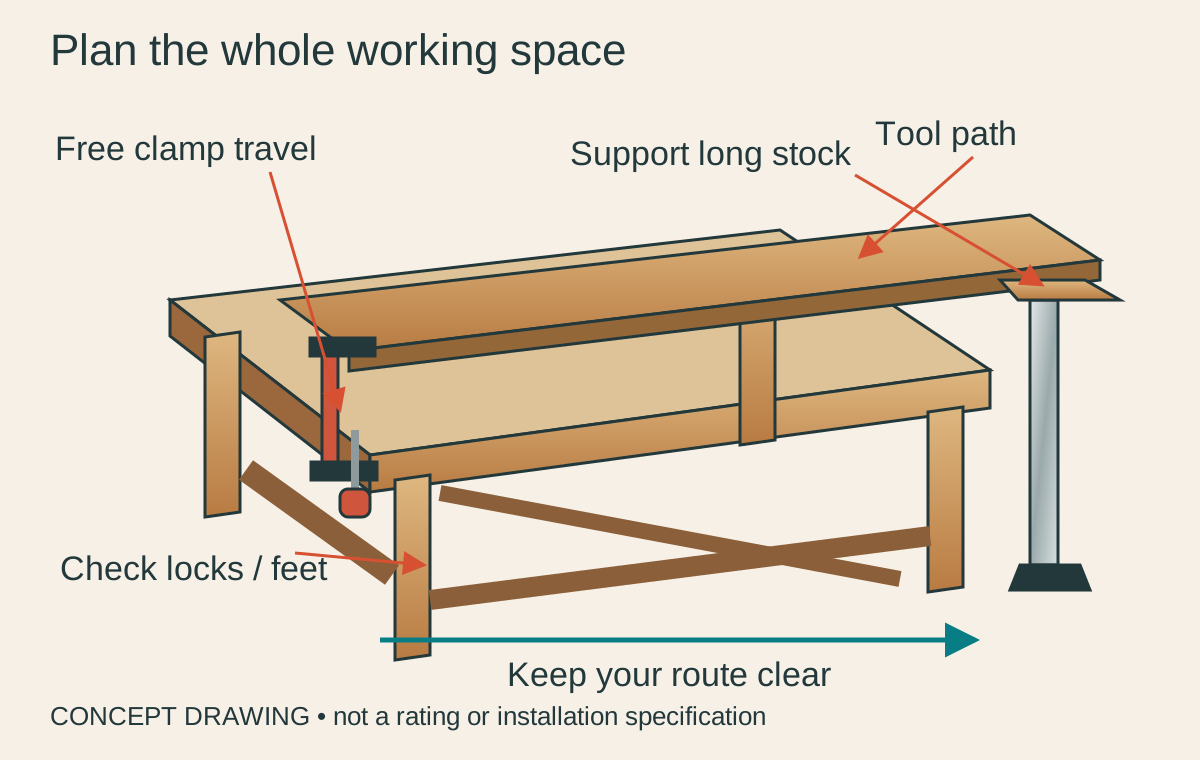
Set the bench up according to its own instructions, with all braces, latches, and feet in their intended positions. A folding bench that looks open may still have an unlatched support, so check the actual locking parts rather than relying on its silhouette.
Use the bench only within the manufacturer’s stated configuration and load limits. Kreg’s Mobile Project Center, for example, documents different functions and a specific open-table capacity; that number does not become a rating for another bench or an improvised arrangement.
With the top empty and tools switched off, check for rocking, loose joints, or a foot that is not making contact. Resolve the cause using the maker’s approved adjustment or a different location before you add a workpiece.
Then position your intended project and check the setup again without operating a tool. A tall assembly, a board hanging far off one end, or a heavy vise can change how the whole arrangement behaves.
Do not treat a load rating as a promise that you can push sideways with unlimited force. If a light bench creeps when you rehearse a hand-tool stroke, choose a more appropriate support instead of planning to catch it with your knee.
Keep the working envelope clear
Your useful work area includes the space above, below, and beside the top. A deep shelf under the front edge can make a bench look organized while preventing you from placing a clamp where the job needs it.
Try the largest clamp you expect to use at several points around the edge. Look for access to its moving jaw and handle, and check that the handle will not hit a drawer pull or your leg.
Leave room behind the work for the tool’s intended movement and any accessory the manual requires. You should not discover halfway through a pass that the wall blocks your hand or the dust hose catches on a shelf.
Use separate support for long material when the task calls for it, with the support matched to the bench and work. A short bench can be useful, but a long unsupported tail should not become your accidental lever.
Use three simple surface zones
Think of the top as a working zone, a staging zone, and a small parking zone. The working zone holds only the secured project and the tool you are using, while the staging zone holds the next part.
The parking zone is where you set down a pencil, square, or driver without putting it in the tool’s path. Give that zone an actual tray or shallow container so loose screws do not migrate under the board.
For a small drawer repair, you might put the drawer in the center, replacement pieces to one side, and the removed hardware in a labeled cup at the back. That simple arrangement helps you notice when a part is missing before reassembly.
If you cannot fit all three zones, move staging to a separate stable surface. Expanding the active work area does not always mean buying a larger bench; sometimes it means moving the unopened tool case off the top.
Put light and power where the job needs them
Stand in your normal working position and look at the marking line, not just the brightness of the room. A light directly behind your head can make a cheerful workshop and still put your hands in shadow.
Adjust task lighting so you can inspect a joint or pencil line without leaning close to the tool. Secure the light in the way its manufacturer intends, keeping it clear of moving parts and falling material.
Plan cord and hose routes while the tool is disconnected. CCOHS advises keeping power cords away from the tool’s travel and using extension cords suitable for the tool’s power needs and cord length.
You can rehearse the tool movement with the power disconnected to find snag points. Leave enough movement for the intended operation while keeping the walking route clear; pulling a cord tight is not an organization system.
Place batteries and chargers where the manufacturer’s ventilation and surface requirements can be met. A convenient charging shelf is only convenient if you can reach it without moving a project or covering the charger with offcuts.
Make a shared workshop easy to reset
If the bench shares a garage with a car or a room with household storage, define what the end of a session looks like. Decide where the bench folds, where the unfinished project rests, and which floor area must be empty again.
Store the tools for your most common project together rather than spreading them across every available hook. A small repair kit that returns to one shelf is easier to put away than a wall display you must reconstruct each evening.
Give unfinished assemblies a label with the next step and any adhesive waiting time from the product instructions. That note helps you resume calmly and tells someone else that the object is a project, not a spare shelf.
Keep sharp tools contained and pointed away from paths, and put unused tools back before they become part of the clutter. CCOHS’s hand-tool guidance also emphasizes a tidy work area and storage that prevents accidental contact.
Run one trial session before adding storage
Try a simple, low-risk assembly with the smallest practical tool selection. Notice where you keep reaching, where you set things down, and what you move twice.
Write down those observations after the job rather than installing a rack for every tool on day one. If the square always ends up at your right hand, that is useful evidence for a nearby holder; an attractive empty wall is not.
Finish by removing debris with a method appropriate to the material and putting every tool in its home. A bench that resets in a few deliberate steps is more likely to stay available for the next repair.
Before each later session, repeat the short checks: stable base, secured work, clear tool path, and usable exit. Your setup is successful when you can concentrate on the project instead of negotiating with the furniture around it.
Leave yourself a room note
Keep a quick sketch showing the bench position, the path to the exit, and the home for long material. When the space changes for a different project, update that sketch instead of assuming yesterday’s clear route is still available.
A simple photo of the cleared setup can also help you reset a shared room. Use it as an organization reminder, then repeat the physical checks before beginning work.