A shop vacuum can be useful for cleaning up appropriate debris, while a dust extractor may be designed to work with a tool as the dust is made. Those labels alone do not tell you which machine is suitable for the material, hose connection, or exposure problem in front of you.
Start with the job and read the actual equipment instructions. Your goal is an intended collection system, not simply a hose that fits one end and makes a loud suction noise at the other.
Separate cleanup from source capture
Cleanup means collecting debris that has already reached a surface. Source capture means collecting material close to the point where a tool produces it, before it spreads around the work area.
A nozzle that clears chips from a benchtop may be awkward to hold beside a moving sander. A tool-connected extractor can offer a more practical arrangement, but only when the tool, connection, and collection equipment are appropriate for the task.
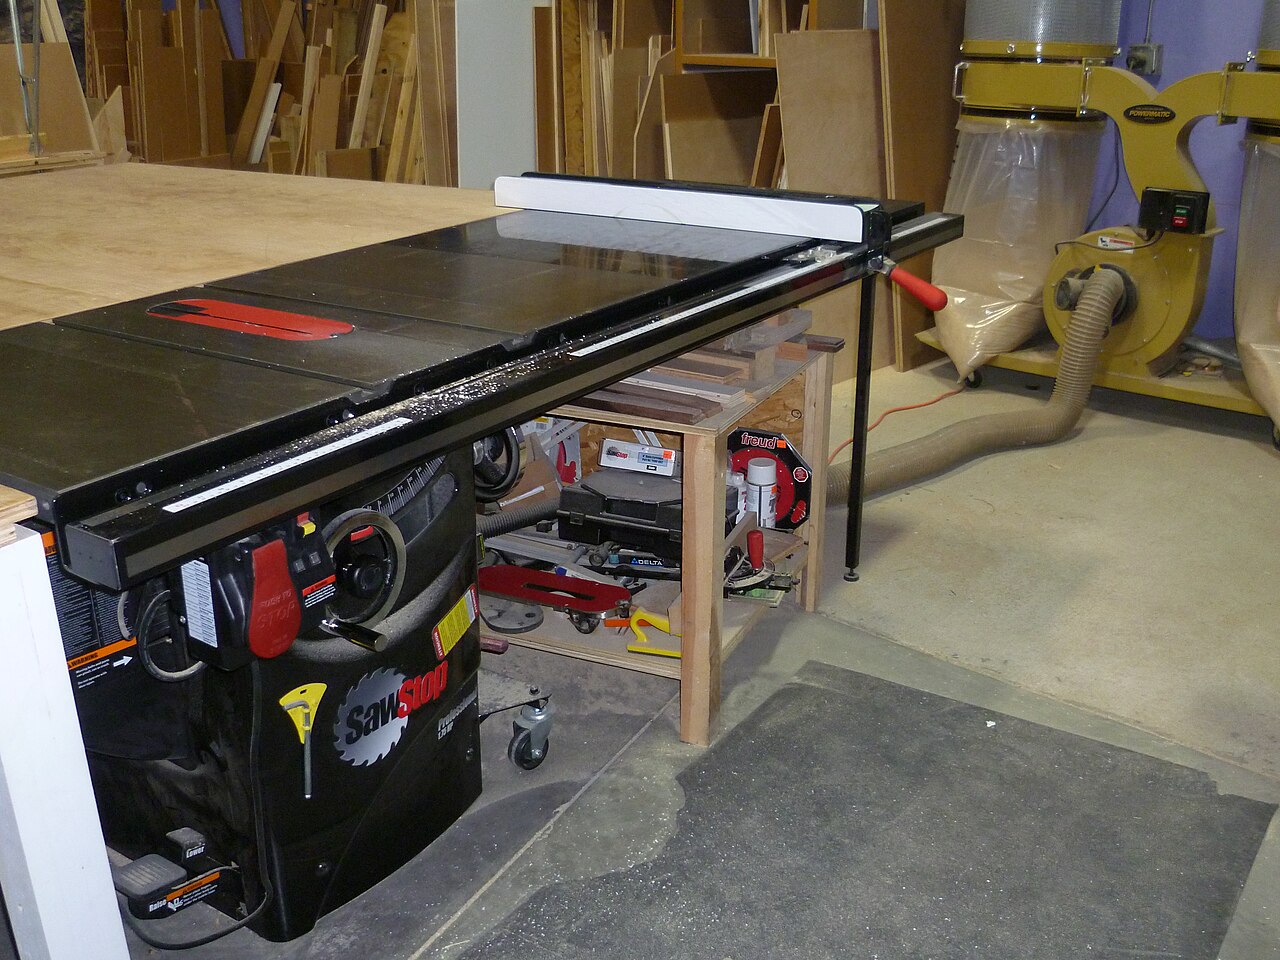
OSHA’s woodworking guidance emphasizes local exhaust arrangements at dust-producing operations. Treat that as a reason to plan capture around the source rather than assuming that vacuuming the floor afterward answers every dust concern.
You may still need cleanup after using a well-planned collection setup. The important distinction is that floor cleaning and capture during work have different jobs, so evaluate both in your workshop plan.
Identify the material before selecting filtration
Write down what you will actually collect: ordinary wood chips, fine sanding dust, liquid, or another material. Then compare that list with the exact vacuum or extractor’s permitted and prohibited uses.
Do not use a general household or workshop vacuum to investigate an unknown powder. If the substance could contain hazardous contamination, stop disturbing it and establish the appropriate identification and control process first.
Old painted surfaces need their own assessment before sanding or cleanup. EPA recommends lead-safe certified contractors for renovation projects in pre-1978 homes, and an ordinary shop setup should not be presented as a lead-remediation system.
Likewise, work involving concrete, masonry, asbestos concerns, combustible powders, or other specialized hazards cannot be cleared by a generic recommendation to buy an extractor. Use the task-specific requirements and competent help where needed.
Look beyond the filter label
A filter description refers to a particular component or tested arrangement, not automatically to every possible use of the machine. You need the manufacturer’s statement about the complete equipment and the exact task.
RIDGID, for example, distinguishes general-debris, fine-dust, HEPA, and wet-application filters in its product range. Its VF3400 general-debris filter is specified for dry pickup, which illustrates why a familiar brand name is not enough to select the configuration.
Read the restrictions on bags, seals, hoses, and accessories as carefully as the filter page. Substituting a convenient part can leave you with an arrangement the maker has not identified for the work.
Keep a simple equipment note with the machine model, installed filter, bag, and intended material. That is especially useful if you switch tasks, because yesterday’s suitable configuration may be wrong for today’s mess.
Check every connection before powering the tool
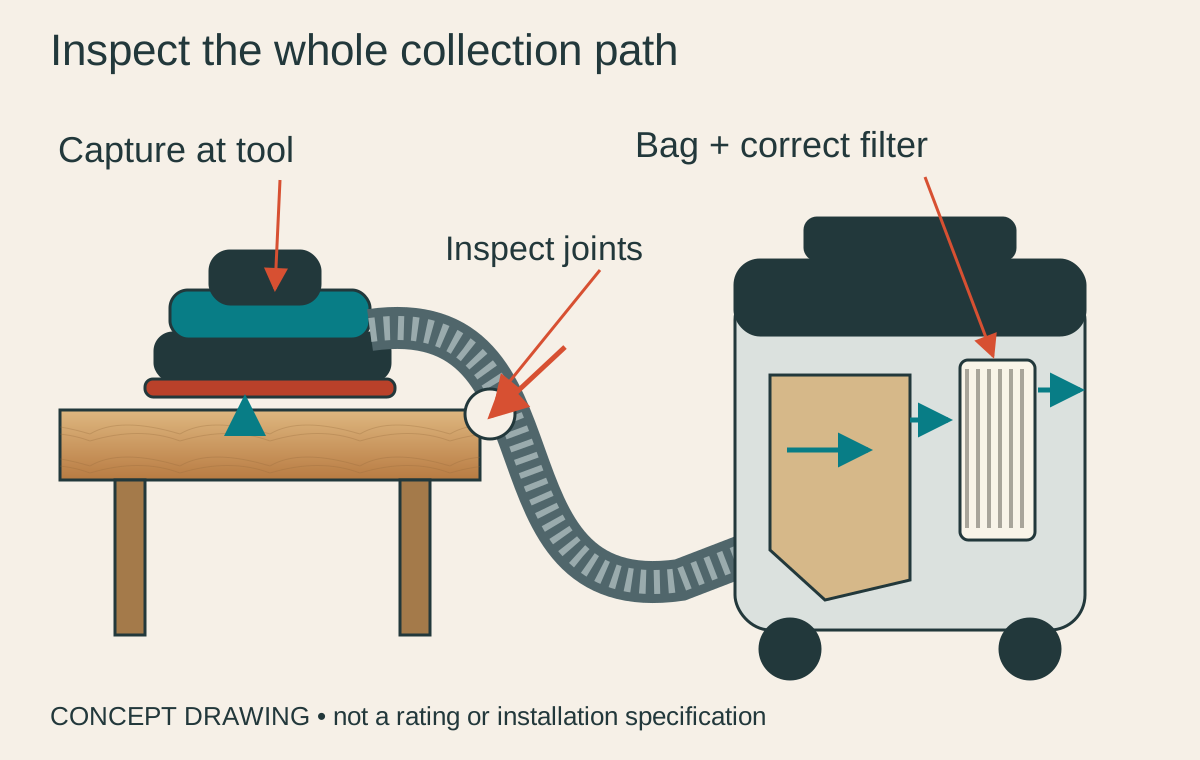
Identify the tool’s intended dust port and the manufacturer’s specified connection method. Measure or verify the required fitting rather than assuming two nearly matching round openings will stay connected during movement.
Use suitable approved connectors and inspect them for cracks, loose joints, and damaged seals. An adapter should solve an identified compatibility problem without blocking the tool’s intended movement or safety features.
With power disconnected, move the tool through the planned operation. Check whether the hose drags the tool sideways, pulls at the workpiece, or catches beneath a clamp.
Route the hose so you can move around the bench without stepping over it repeatedly. A collection system that forces awkward body positions needs a layout change before it becomes part of your routine.
Match the machine to the intended connection
A small handheld-tool port and a large stationary-machine duct are different system requirements. Do not choose by motor advertising alone or assume a small hose can replace a machine’s specified collection arrangement.
Compare the tool maker’s requirements with the collector maker’s documented capabilities and permitted accessories. When the information is missing, ask for a compatible arrangement rather than inventing a conversion from one headline specification.
Long hose runs, unnecessary turns, blockages, and a loading filter are things to investigate when collection changes. Keep the setup as instructed and inspect it with the power off before deciding the machine simply needs a more powerful setting.
If a dust cloud appears or debris escapes unexpectedly, stop and check the system. The absence of a visible cloud is useful observation, but it does not prove that respirable dust exposure has been measured or eliminated.
Treat wet collection as a separate configuration
The phrase wet/dry does not mean you can collect every liquid with the machine configured for dry sanding dust. Read the exact model’s instructions for permitted liquids, bag changes, filter selection, fill limits, and shutoff behavior.
RIDGID’s filter guidance, for instance, identifies a dedicated wet-application option and specific model-size compatibility. That is a model-specific selection task, not a rule that one foam filter fits every vacuum.
Disconnect power before changing the setup and follow the manufacturer’s cleaning and drying steps afterward. Keep the machine’s electrical limitations and the conditions of the work area in the same decision.
Do not collect flammable liquids, hot material, or anything else the manufacturer prohibits. If you cannot confidently identify a spill and its collection requirements, leave the vacuum out of the response until you have appropriate guidance.
Plan emptying before the container is full
Choose an appropriate place and procedure for changing the bag or emptying the container. Collection is not complete if the next step releases the material into your home or onto a shared walkway.
Follow the specified disposal method for the material and the equipment’s maintenance instructions. Do not improvise cleaning a filter by blasting dust across the room or running the machine without required parts.
Inspect the hose, wheels, cord, switches, and attachments while the machine is disconnected. Put damaged equipment out of use until it is repaired through an appropriate process.
OSHA also identifies fine wood dust as a fire and explosion concern in woodworking environments. Keep collection and housekeeping aligned with the equipment’s restrictions rather than mixing hot debris or incompatible materials in one container.
Make the purchase decision with a real task card
Write a short task card before comparing machines: material, tool model, dust-port connection, session length, available storage, and disposal method. Include the controls and protective equipment required for the task rather than leaving them outside the budget.
For ordinary permitted debris cleanup, you may value a suitable nozzle, manageable container, and easy storage. For tool-connected sanding, you may value a documented compatible system, practical hose routing, and the correct fine-dust configuration.
Check the total arrangement rather than comparing a bare machine price with a complete kit. A missing hose connector or required filter can matter more to your first successful session than a feature you rarely use.
When neither option is documented for the task, choose a different method or get specialist help. A useful workshop purchase removes uncertainty from a known job; it should not encourage you to start an unidentified dust problem.
Before the first session, make a place for the machine when it is running and a place for it when it is stored. Include the attached hose in both plans, because a compact container can still create a large tangle in a narrow room.
Keep the correct bags and filters clearly labeled nearby so a routine change does not become an excuse to use an unsuitable substitute.
After the job, note any awkward connection, snag, or maintenance step while you remember it. Those observations help you improve a documented setup without confusing a cleaner-looking room with measured exposure control.