A sanding sequence works when each step removes the marks left by the previous one without taking away more material than the project can spare. You are not collecting grit numbers; you are preparing a particular surface for a particular finish.
Start with a small test area or an offcut from the same material. That gives you a place to compare the starting condition, your abrasive choices, and the final appearance before you commit the visible face.
Identify the surface and its history
Look for saw marks, scratches, glue residue, dents, existing coatings, and thin decorative layers. A new solid-wood board and a veneered cabinet door can look similar from a distance but leave you very different room for correction.
Do not start sanding an unknown old coating just because the paper is handy. EPA warns that renovation in pre-1978 homes can create dangerous lead dust and recommends lead-safe certified contractors for those projects.
Set aside work with uncertain paint, contamination, or material composition until you know the appropriate controls. This guide’s ordinary bare-wood examples do not establish a process for lead paint, asbestos-containing material, or other hazardous surfaces.
For a clearly identified bare board, decide what the visible defects actually require. A deep dent may be better handled through a different repair or accepted as part of the piece rather than sanding the entire face down to its bottom.
Let the finish define your stopping point
Read the finish manufacturer’s surface-preparation instructions before choosing the last grit. The preparation for a penetrating stain may differ from the preparation for a painted surface or a clear film finish.
Write the product name, preparation directions, and intended application method on your test sample. If you compare two schedules, label them before applying the finish so you do not have to remember which end received which treatment.
A very smooth-feeling surface is not automatically the best prepared surface for every coating. Judge the result with the actual finish you intend to use rather than choosing the finest paper in the drawer.
Keep between-coat sanding separate from initial bare-wood preparation. The coating’s required drying time, abrasive, and cleaning method belong to that stage and should not be borrowed from an unrelated finish.
Start only as coarse as the defects require
Norton advises choosing a starting abrasive that removes the imperfections without creating unnecessary deeper damage. That gives you a useful question for the test piece: is this grit making real progress on the defect you identified?
If a fine abrasive simply polishes around a visible machining mark, your starting choice may be too mild for that correction. If a coarse abrasive leaves large new scratches on an already clean face, you may have started more aggressively than necessary.
Keep your test small enough that you can inspect it easily and stop before changing the shape. Look along the surface under low-angle light rather than judging only how quickly dust appears.
Avoid trying to erase every defect with the same coarse paper. Separate the tasks in your notes: surface correction, scratch refinement, edge treatment, and preparation for the finish.
Make each step earn the next
Within the same grit-grading system, a higher number generally means a finer abrasive. Keep the system consistent while planning, rather than treating every package with a similar number as an identical product.
For a planning example, suppose your chosen finish directs you to stop at 180 and your test board can be corrected with 120. You could evaluate an intermediate 150 stage on that sample, then inspect whether the final 180 removes the earlier scratches; this is a test scenario, not a universal three-grit prescription.
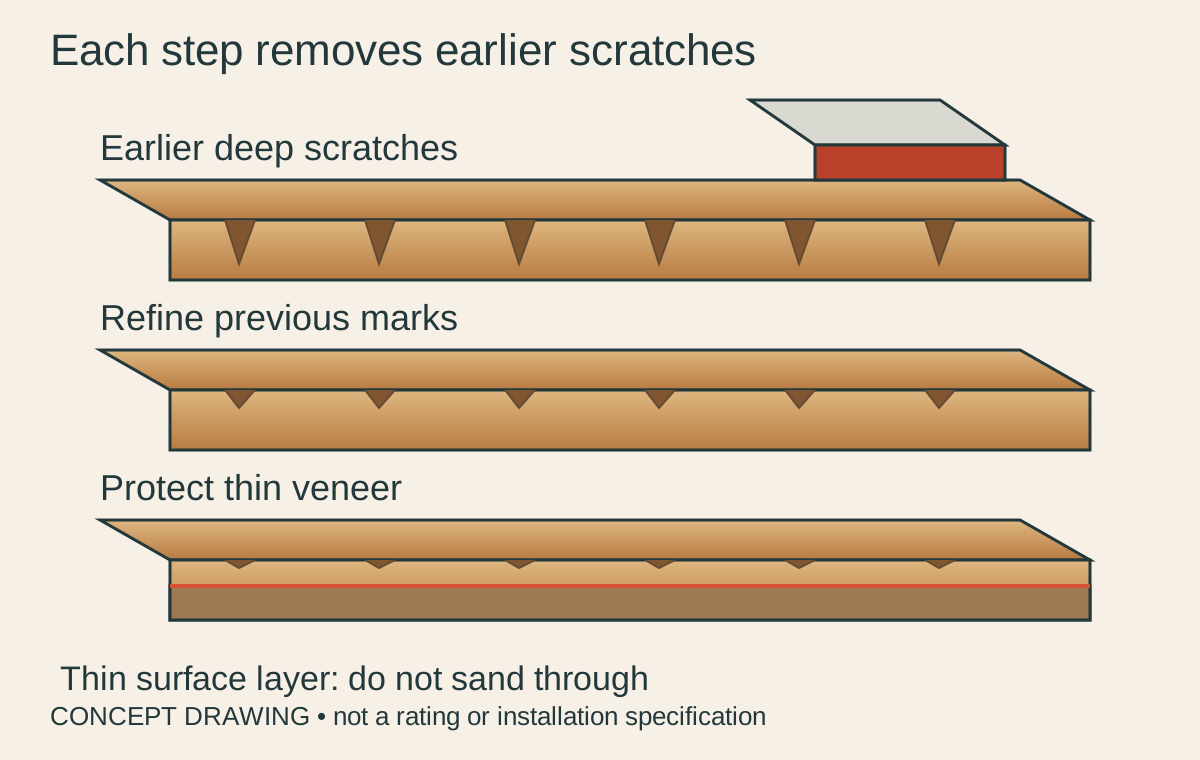
Move through an appropriate progression within the abrasive system you are using, following the abrasive and finish makers’ guidance. Norton’s wood-sanding guidance recommends working progressively toward finer grits instead of treating the last grit as a shortcut.
After each stage, remove loose dust using an appropriate collection and cleaning method, then inspect the surface. You are looking for remaining marks from the earlier abrasive, not just an overall change in sheen.
Use a test sample to find a manageable sequence rather than adopting one universal list for every wood. Keep the material, tool, abrasive, and finish consistent while you compare, otherwise you will not know which change affected the result.
When scratches remain, go back to the stage that can reasonably remove them. Spending much longer with the finest paper can hide the diagnosis while making the job feel mysteriously slow.
Support the abrasive for the shape you want
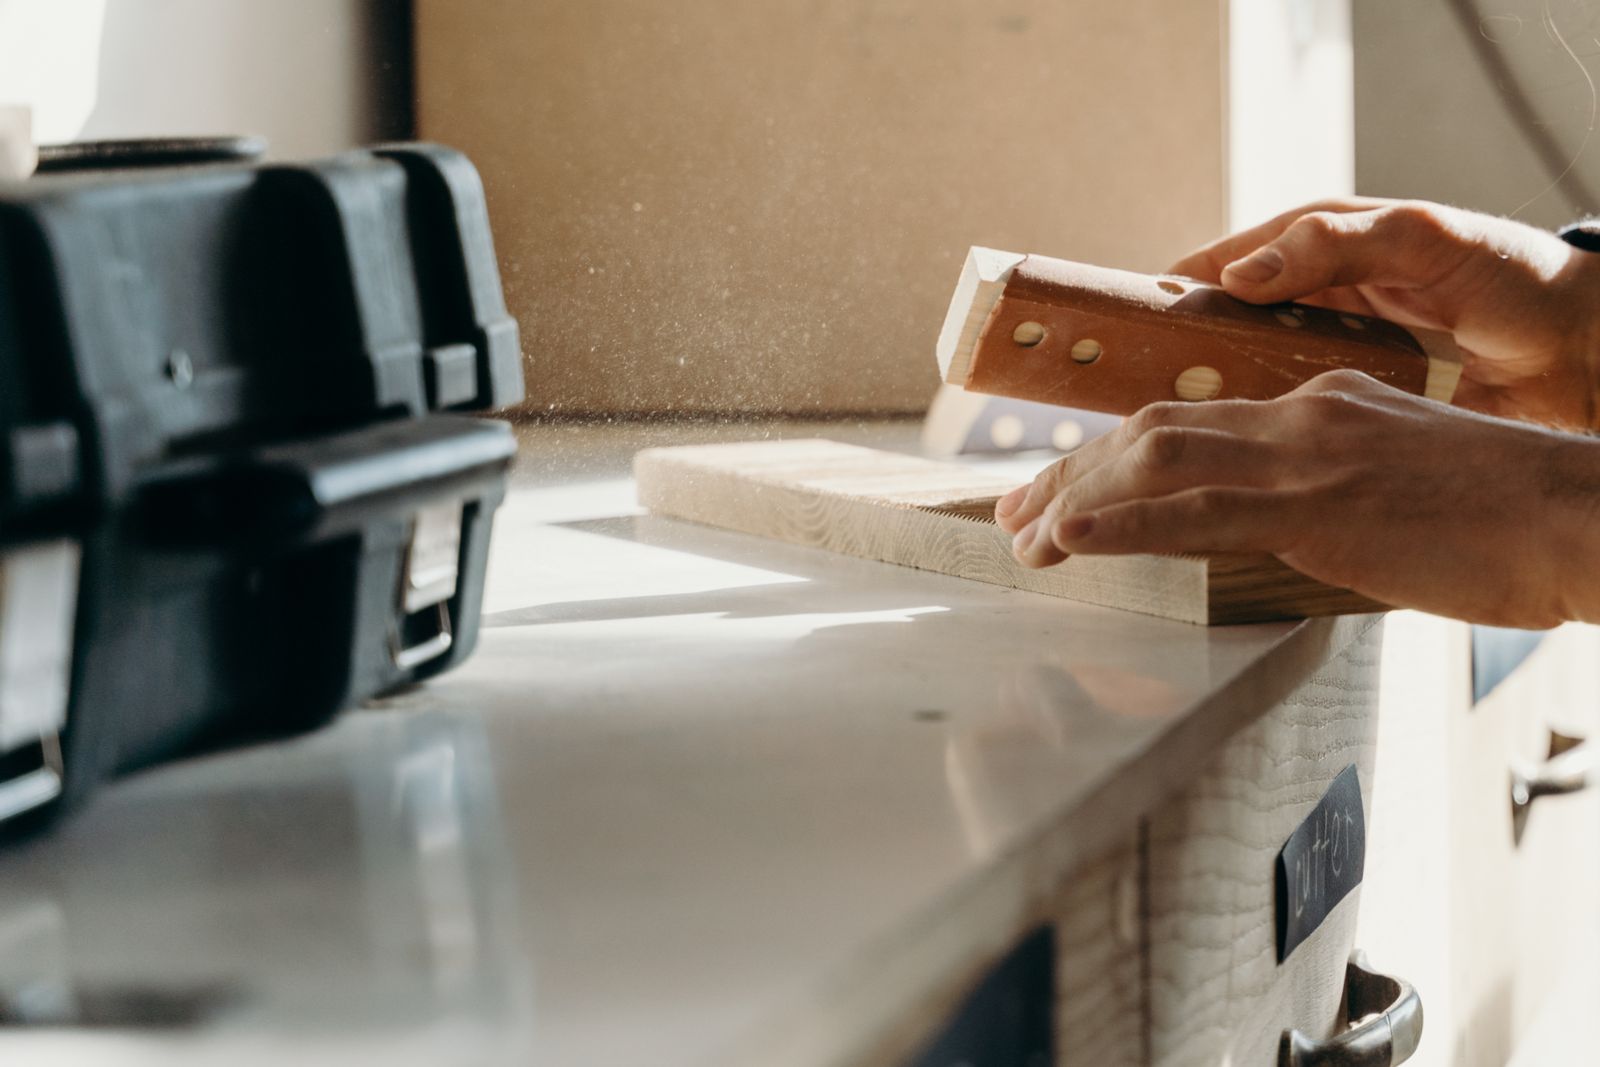
A flat sanding block gives you a defined contact surface for a flat board. Folded paper held only by fingertips can concentrate contact in small areas, so pay attention to whether you are flattening or unintentionally shaping.
For a curve or profile, choose a support that suits the shape and the abrasive maker’s intended use. Do not force a rigid flat tool into a hollow and assume the unsupported edges will behave predictably.
Match sanding discs, sheets, or belts to the actual tool’s attachment, size, and requirements. If the tool uses extraction holes, fit the abrasive as instructed so the intended dust path is not blocked.
Before switching on a power sander, secure the work and check the full movement with the tool disconnected. You need room for your hands, the cable, and the extraction hose without loosening the work midway through a pass.
Use observation instead of extra pressure
Norton’s bare-wood guidance warns against pressing down hard on a power sander and recommends keeping the tool moving. Follow your sander’s own technique instructions, because different mechanisms and pads do not all behave the same way.
If the paper stops cutting effectively, inspect its condition and attachment rather than leaning harder. A worn or loaded abrasive, a mismatched product, or a problem with extraction needs a correction at its source.
Check corners and edges frequently because a small change there can alter how the finished piece looks. Deliberate edge easing is a separate decision from accidentally rolling a broad sanding pad over an edge.
For a panel that must meet another component, check fit as well as appearance. You do not want to remove a fitting problem only to create a gap that becomes obvious when you put the assembly back together.
Plan dust control before making dust
Use the collection equipment and protective measures appropriate to the identified material and task. OSHA’s woodworking guidance discusses local exhaust at the source; a visibly cleaner tabletop does not establish that airborne exposure is controlled.
Check the sander, hose, collector, bag, and filter as one intended system. A connection that physically fits is only the first check, and a fine-dust task may require capabilities your general cleanup vacuum does not provide.
Keep the work area separated from household activity as appropriate to the job and prevent dust from becoming part of your living-space routine. Do not use a fan or compressed air merely to relocate the dust where you can no longer see it.
If you cannot establish suitable controls for the material, pause the operation. Buying finer paper or moving outdoors does not answer an unresolved question about hazardous dust.
Inspect with the finish in mind
Use light from more than one direction to examine the cleaned surface before finishing. Check edges, end grain, recessed areas, and places where adhesive may have remained near a joint.
Compare your prepared sample with a second sample after applying the intended finish according to its instructions. That small comparison is more informative than making the whole project your first experiment.
Record the successful schedule in plain terms, including the exact abrasive system and final preparation. Write what you observed rather than claiming that a particular grit will always produce the same result on every board.
Keep used coarse and fine abrasives clearly separated, and discard pieces that are contaminated or no longer useful. Returning a gritty coarse sheet to the fine-paper pile is an easy way to add a scratch at the final stage.
When you are satisfied, complete the finish maker’s cleaning and preparation steps and put the project somewhere protected. Your aim is a surface ready for its next layer, with its shape intact and no unresolved marks waiting to surprise you.
Keep the test offcut with the finished project or your finish supplies if you expect to make a matching piece later. A labeled physical sample preserves details that a phone photo may miss, especially differences in sheen and the way the grain appears.
Use it as a comparison reference while still checking the condition of the next board independently.