You can save yourself an expensive tool purchase by writing down the job before you write a shopping list. Define what you want to finish, identify what you do not yet understand, and decide where you will stop if the project turns out differently.
The planning exercise below works well for a modest, nonstructural project such as making a freestanding organizer. It helps you arrange the work; it does not supply construction, electrical, plumbing, or structural instructions for an unfamiliar repair.
Describe the finished result in a way you can check
Replace “fix the garage” with a concrete result, such as “organize the hand tools on one freestanding bench by Sunday evening.” Your definition should make it possible to see whether you have finished without buying another accessory.
Write down the available space, the items the project must accommodate, and any access that must remain clear. Measure the actual location instead of sizing the project from a product photograph or a memory of the room.
Include what the project will not attempt during this session. For the organizer example, you might leave wall mounting, new electrical outlets, and changes to the building for separate properly planned jobs.
Choose a finish standard you can describe: the dimensions fit the measured space, the intended items fit their compartments, and the maker’s assembly requirements are met. A clear standard keeps “one more improvement” from becoming an endless shopping trip.
Inspect the site before disturbing it
Look at the surroundings with the tool still put away. Record unusual materials, damage, moisture, old coatings, and anything concealed that the planned work could encounter.
For a pre-1978 home, CDC advises asking your state or local health department about testing paint and dust for lead before you turn old coatings into a sanding or demolition task. A paint inspection identifies lead content, while a risk assessment addresses hazards and recommended actions, so write down which question you need answered and arrange the appropriate qualified assessment before choosing tools.
EPA’s remodeling guidance also says to use an asbestos professional or contact your health department for advice before work that would disturb asbestos-containing areas. An unfamiliar material is a reason to identify the risk, not to make a small exploratory cut.
Keep your unanswered questions in the plan instead of burying them in a shopping note. “Need to identify the coating” tells you what must happen next, while “buy sanding discs” quietly assumes that the question has already been resolved.
Draw where the work and the people will go
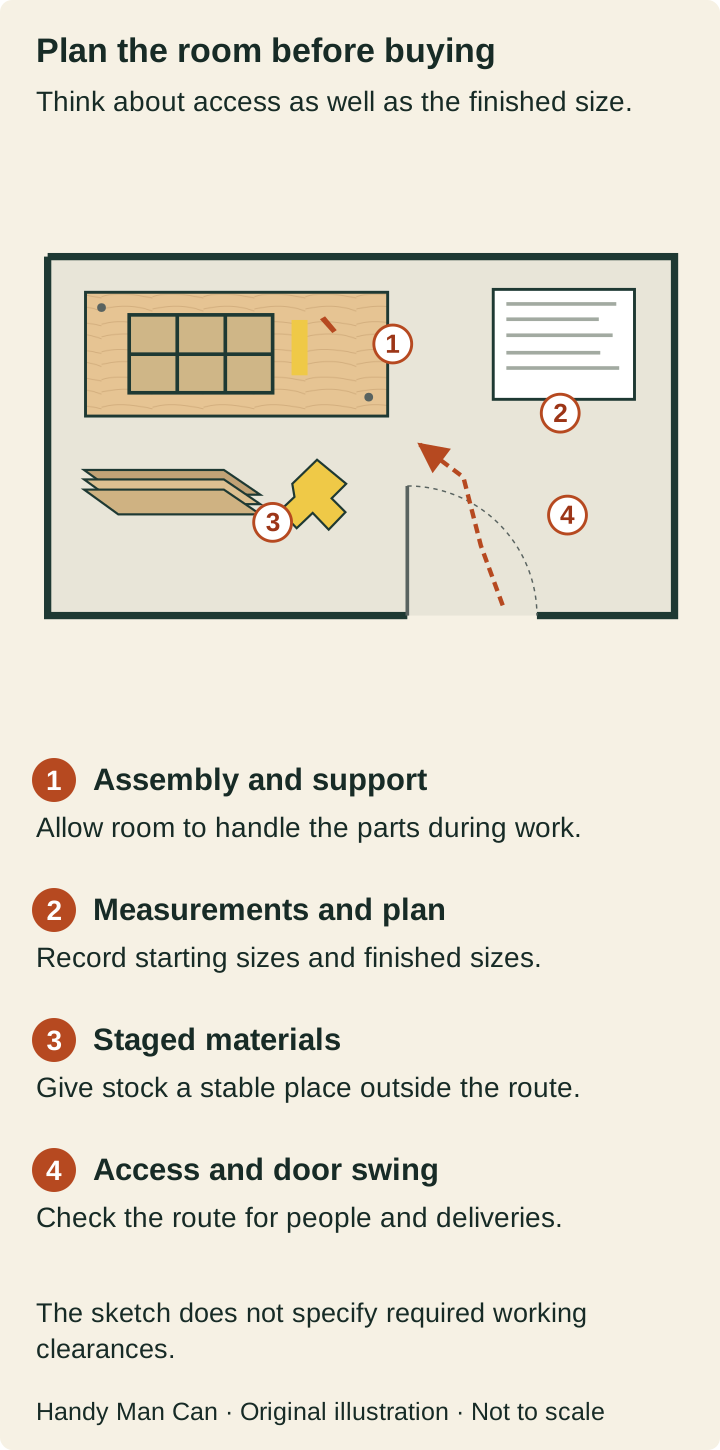
Sketch the work area from above and add the size of your bench or support, the material, the tool’s required operating space, and the access route. Follow the tool instructions for its actual setup rather than taking a drawing as a safety specification.
Draw the project in both its starting and finished sizes. An organizer that fits in its final position may still need more space while you assemble it or turn it over.
Include the route from the delivery point to the work area and then to the final location. A long board, a boxed kit, and an assembled unit may need different clearances through the same doorway.
Leave a place for instructions, known hardware, and work waiting for the next step. If every surface is already assigned to cutting or assembly, your plan needs more organization before you bring materials home.
Build the tool list from the steps
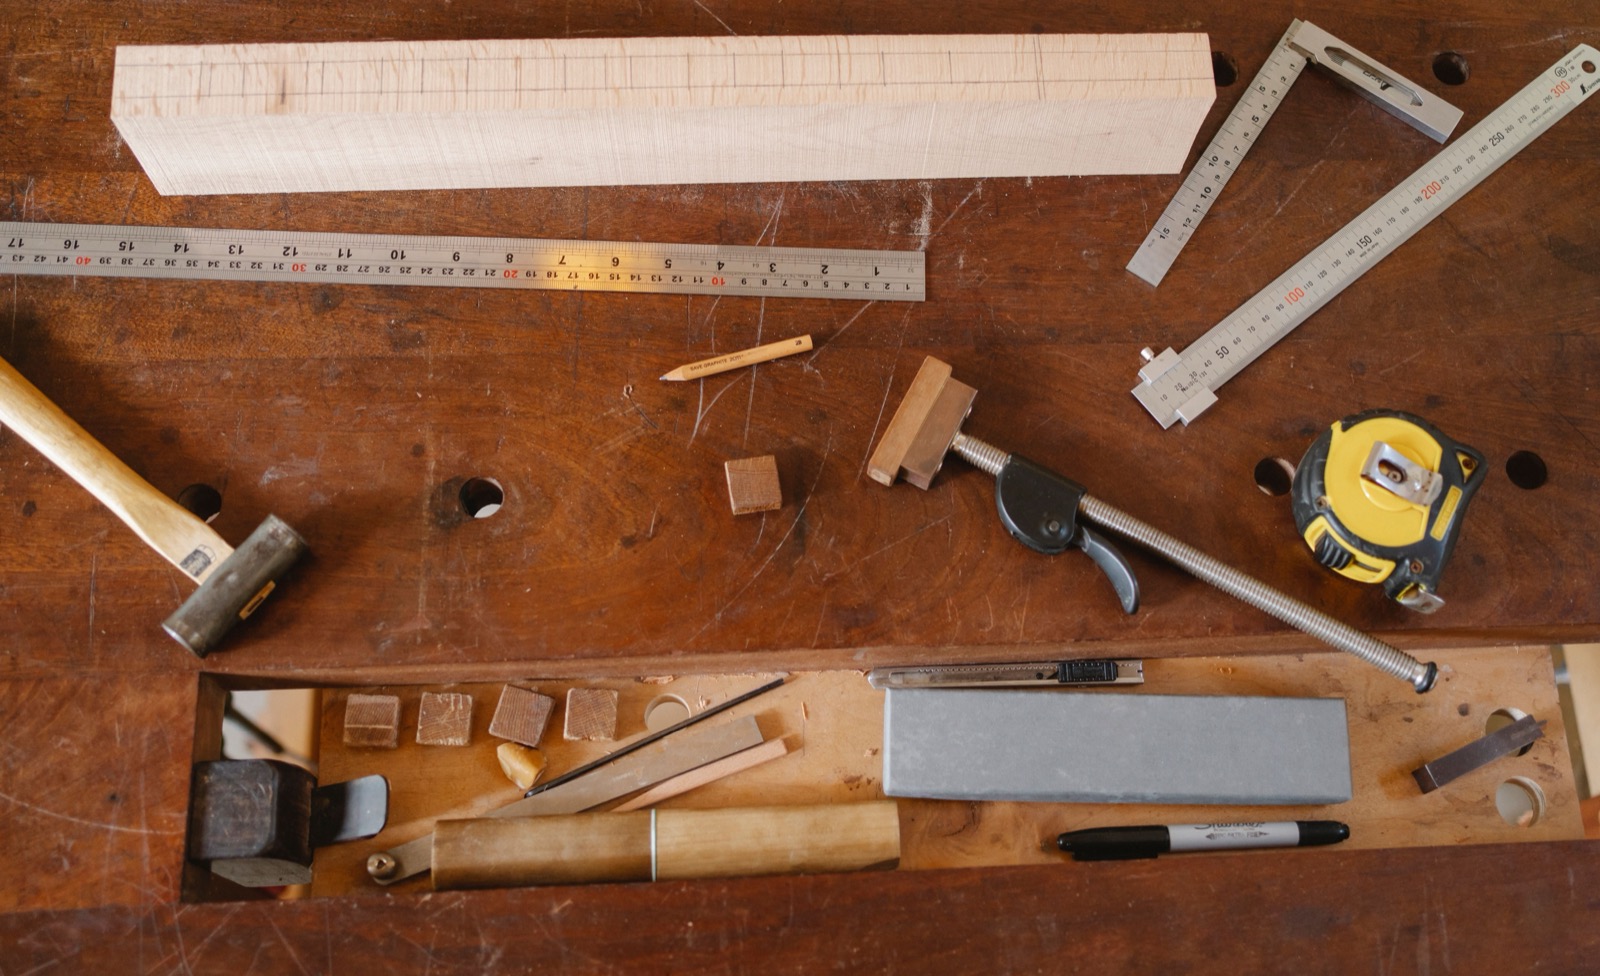
Write the work sequence in ordinary language: inspect, measure, mark, prepare the material, assemble, check, and clean up. Use the project’s own instructions to add the specific operations and their dependencies.
Beside each step, list the materials, tools, support, protection, and information it requires. Do not move a step into the ready column until you know how you will perform it with the equipment you actually have.
For a simple organizer kit, you may find that the supplier has already cut the panels and supplied the fittings. That makes the relevant purchase question about compatible assembly tools rather than a saw you originally assumed you needed.
For a project made from raw stock, you may decide to have the supplier prepare the material to your documented dimensions. Check the service’s capabilities and tolerances before relying on it, then plan the remaining operations at home.
Keep a separate line for consumables and small accessories. A tool purchase can look complete while still leaving you without the exact blade, bit, fastener, or support required by the instructions.
Decide whether to own, borrow, rent, or hire
Owning makes sense when you have a recurring task, suitable storage, and the ability to maintain the tool. Add the required accessories and care supplies to the comparison so you are considering the working system rather than the price of the bare tool.
Borrowing can suit an occasional task when the owner can supply the correct accessories and instructions. Agree on the condition, timing, and return arrangement before your project depends on it.
Renting may make an unfamiliar or specialized tool available without permanent storage, but you still need appropriate instruction and a suitable job setup. Ask what is included, what condition checks are expected, and how the rental period interacts with your project sequence.
Hiring someone can be the useful choice when the work requires expertise, identification, permits, or risk controls beyond your plan. Ask for a scope that names the intended result and the work the professional will take responsibility for.
Compare the options with your actual calendar. A borrowed tool that arrives after the only free weekend is a different option from one that is available before you commit to materials.
Budget for the whole task, including waiting
Separate the cost of materials, equipment, services, delivery, disposal, and any required project checks. Keep an allowance for the uncertainties you have identified instead of hiding them inside a single optimistic total.
Estimate active work time separately from delivery, drying, curing, inspection, or other waiting the actual instructions require. You cannot solve a waiting dependency by working faster on a later step.
Schedule the first session around a useful stopping point, such as confirming dimensions and laying out the supplied parts. That lets you discover a missing fitting before you turn the whole room into an assembly area.
Check return and rental terms before ordering equipment, and keep receipts with your project note. The aim is to preserve options if the inspected site or supplied materials change the plan.
Set stop points while you are still thinking clearly
Name the discoveries that will pause the project: unidentified material, dimensions that do not match the plan, damaged parts, missing instructions, or a setup you cannot make suitable. Put the next contact or information source beside each one.
For building work, check with your local building department or appropriate professional about the project’s requirements before starting. A small-looking task does not tell you whether your jurisdiction or situation requires additional steps.
Keep a simple change note whenever the scope shifts. If the freestanding organizer becomes a wall-mounted unit, return to the planning stage for that new work instead of treating it as a minor change during assembly.
Before the first irreversible step, take one more look at the materials and the return route. Confirm the ordered parts match the plan, identify anything damaged or missing, and resolve the discrepancy before cutting or altering a piece you may need to exchange.
That checkpoint is particularly useful when the whole project depends on one fitting or a panel arriving in the expected size. A brief inspection can preserve choices that disappear once assembly begins.
Finish with a handoff to your next project
Check the result against the definition you wrote at the beginning and record anything that remains unresolved. Store the instructions, identify leftover parts, return borrowed equipment, and follow the required care routine for your tools.
Then update your shopping list with what the completed job actually taught you. You may still want another tool, but you will be choosing it for a real recurring task with a known place in your workshop.