Keep small removed parts somewhere deliberate
A magnetic parts tray can help you give steel screws, nuts, and washers a temporary home while you work. Its useful job is simple: reduce the chance that a loose part rolls off the bench or disappears among tools before you put the assembly back together.
This guide compares two exact, inspected models: the rectangular TEKTON 1903 and round Titan 11061 mini tray. Two are enough to show a meaningful size-and-shape decision without filling the page with near-identical products that add no clear buying distinction.
Choose the TEKTON when you want a larger rectangular staging area, or the Titan when a small round tray fits beside the job. These are document-based selections, not hands-on magnetic strength tests, drop tests, or promises that every metal component will stay put.

Start by checking whether the parts respond to a magnet
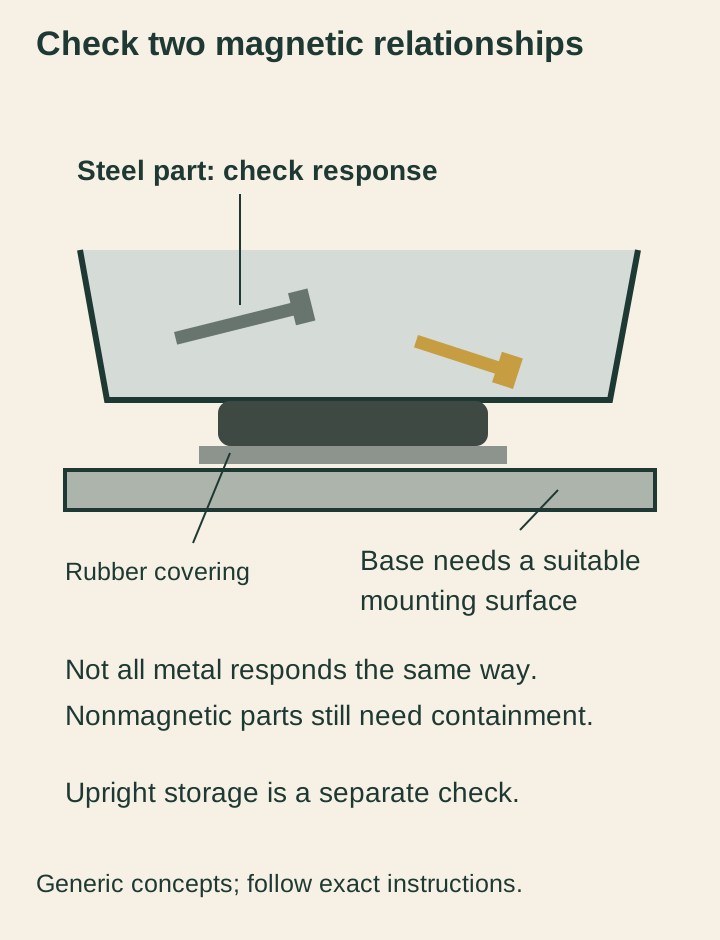
A magnetic tray is useful only when its magnetic arrangement works with the parts you’re handling. Steel hardware may respond, while aluminum, brass, plastic clips, and some stainless components can behave differently or not respond at all.
Check a representative part before you depend on retention, and don’t identify a material solely from that quick check. A nonmagnetic component can still sit in an upright tray, but it needs ordinary protection against tipping, vibration, or being brushed onto the floor.
If your project mixes tiny steel screws with plastic clips and rubber seals, a divided container may be a better companion than a single magnetic bowl. Choose the storage arrangement from the parts list rather than expecting one accessory to solve every kind of organization.
| Exact selection | Useful distinction | Check before buying |
|---|---|---|
| TEKTON 1903 rectangle tray | 9-1/2-inch rectangular magnetic tray | Match your work, current selected package and exact instructions; no hands-on performance claim. |
| Titan 11061 mini tray | 4-1/4-inch mini round magnetic tray | Match your work, current selected package and exact instructions; no hands-on performance claim. |
TEKTON 1903: a rectangular staging area

The TEKTON 1903 inspected listing identifies a 9-1/2-inch rectangular stainless-steel magnetic parts tray. It describes rubber-covered magnets underneath, giving you a distinct rectangular format to compare with the smaller round Titan.
Consider it when you want room to spread out a modest group of removed hardware on the bench. The larger footprint can make separate clusters easier to see, but the tray doesn’t provide physical dividers or a record of which fastener came from which position.
Marking the work sequence is still your job. If similar screws have different lengths, keep them in labeled groups or a more structured organizer instead of assuming you’ll remember their original locations once everything has rolled together.
The rubber covering is a useful contact feature, but it isn’t a guarantee against scratches on every surface. Check both the covering and the mounting area for chips and grit before placing the tray on an appropriate ferrous surface.
Titan 11061: a small round tray beside the task

The inspected Titan 11061 listing describes a 4-1/4-inch mini magnetic parts tray with a rubber-covered magnet. Its round footprint makes it a different space-planning option when you need a temporary home for a small batch of hardware.
Consider it when a larger rectangle would crowd the usable bench area or interfere with access to the assembly. A small footprint can be helpful, provided the expected parts fit without piling so high that identification or retrieval becomes awkward.
Don’t confuse the 11061 model with other Titan round trays carrying different model numbers and dimensions. This recommendation follows the specific Amazon title and product information inspected for 11061, rather than transferring details from another size in the brand’s catalog.
We haven’t measured its holding force or tested it in vertical or inverted positions. Use the product’s current instructions and a controlled check of your actual parts and mounting surface, rather than treating a marketing image as proof that your setup will behave the same way.
Separate the tray magnet from the parts magnetism
There are two related questions: whether the tray stays where you place it and whether the parts stay in the tray. A magnetic base needs a suitable mounting surface, while each loose part also has its own shape, material, and contact with the tray.
A steel cabinet panel may behave differently from a painted aluminum surface, plastic toolbox lid, or wooden bench. If the base doesn’t secure to the surface, keep the tray upright on a stable area and treat it as an ordinary open container there.
Even on a suitable surface, the covering, paint, curvature, dirt, and physical contact can affect the arrangement. This guide doesn’t assign a universal weight capacity or recommend placing a loaded tray overhead, where falling parts could create a separate problem.
Match the shape to how you remove parts
Before starting, estimate both the number of parts and the need to distinguish them. Removing four identical cover screws is a different organization problem from dismantling an assembly with washers, spacers, clips, and several screw lengths.
A rectangle can give you space to place temporary groups along its length, while a small round tray is easy to reserve for one step. Neither format prevents mixing when you move it, so add labels, a sketch, or separate containers when position matters.
Take a photo of the assembly before removal and record anything the service instructions require. A magnetic tray protects you from some rolling hardware problems, but it doesn’t preserve orientation, tightening values, replacement requirements, or an approved disassembly sequence.
Keep dirt and magnetic debris away from the job
A tray used around drilling or grinding can collect small ferrous particles along with the screws you want to save. Those particles can cling to hardware or the underside covering, so examine the tray before bringing it to a clean assembly or delicate finish.
Clean it using the product’s instructions and a method suited to the debris, without sweeping sharp fragments with your bare hand. Removing visible hardware is only part of clearing the tray if fine chips remain around the magnetic area.
Keep the tray away from items whose instructions warn against nearby magnets, including relevant medical devices or sensitive equipment. Follow the device manufacturer’s specific separation guidance rather than relying on a generic distance quoted for a different magnet.
Decide whether a divided box is the better purchase
If your main problem is keeping several hardware sizes identified for weeks, a lidded divided box is often the more appropriate type of organizer. It can separate nonmagnetic parts too, while an open tray is primarily temporary staging near an active job.
You may want both types for a project with a clear work sequence. Use the tray for the small set you’re handling now and a labeled container for completed stages, then account for every part before closing the assembly.
Avoid buying several trays before you know how you will label and store them. A collection of identical bowls with mixed contents can become another version of the same clutter you meant to solve.
Choose by footprint, then verify the listing
Choose the TEKTON 1903 if its rectangular format fits your work area and the larger staging surface answers your actual need. Choose the Titan 11061 if a compact round tray gives one small hardware group a useful place beside the work.
The Amazon links lead to the exact inspected models, but current offers and selected packages can change. Confirm the model and contents before checkout, and don’t treat either listing as evidence that a tray will hold every material or work on every surface.
Before your first project, check the empty tray, the surface, and a representative fastener in a safe position. That small setup check gives you a more useful answer than choosing a winner from unverified magnetic-strength claims.
Give the tray a clear end point
Decide where the parts will go when you pause the project overnight. An open tray beside a half-finished assembly may be convenient during the job, but a labeled lidded container can better preserve the groups you need to identify tomorrow.
Before putting the tray away, compare its contents with your notes and the assembly instructions. An unexplained extra washer deserves an answer, and a tidy empty bowl isn’t proof that every component returned to its correct location.