A useful tool care session ends with tools that are ready to use and easy to identify, rather than tools that merely look shiny. Start by separating ordinary dirt and light surface rust from damage that cleaning cannot fix.
This routine is for common manual hand tools, with the exact maker’s instructions taking priority for coatings, joints, handles, and special features. Electrical test tools, insulated tools, torque tools, and precision measuring instruments need their own procedures.
Sort the tools before opening a cleaner
Empty a manageable part of your tool kit onto a clear, protected bench. Leave enough room to set down each item without stacking sharp edges or hiding a small part under a rag.
Make three areas: ready for ordinary cleaning, needs an instruction check, and out of use. You do not need a permanent storage system for this step; three clearly marked trays are enough to keep your decisions separate.
Photograph any markings you might otherwise cover during cleaning. Model numbers, material descriptions, and previous owner’s labels may help you identify an unfamiliar tool before you choose a treatment.
A rusty adjustable wrench and a pair of pliers with torn insulated handles should not enter the same cleaning queue. One presents a finish question, while the other presents a condition and suitability question that a cosmetic treatment cannot settle.
Inspect before trying to improve the appearance
CCOHS advises inspecting hand tools before use, repairing or replacing defective items, and keeping tools clean, dry, and properly stored. Damaged handles and worn working surfaces deserve attention before the tool returns to your kit.
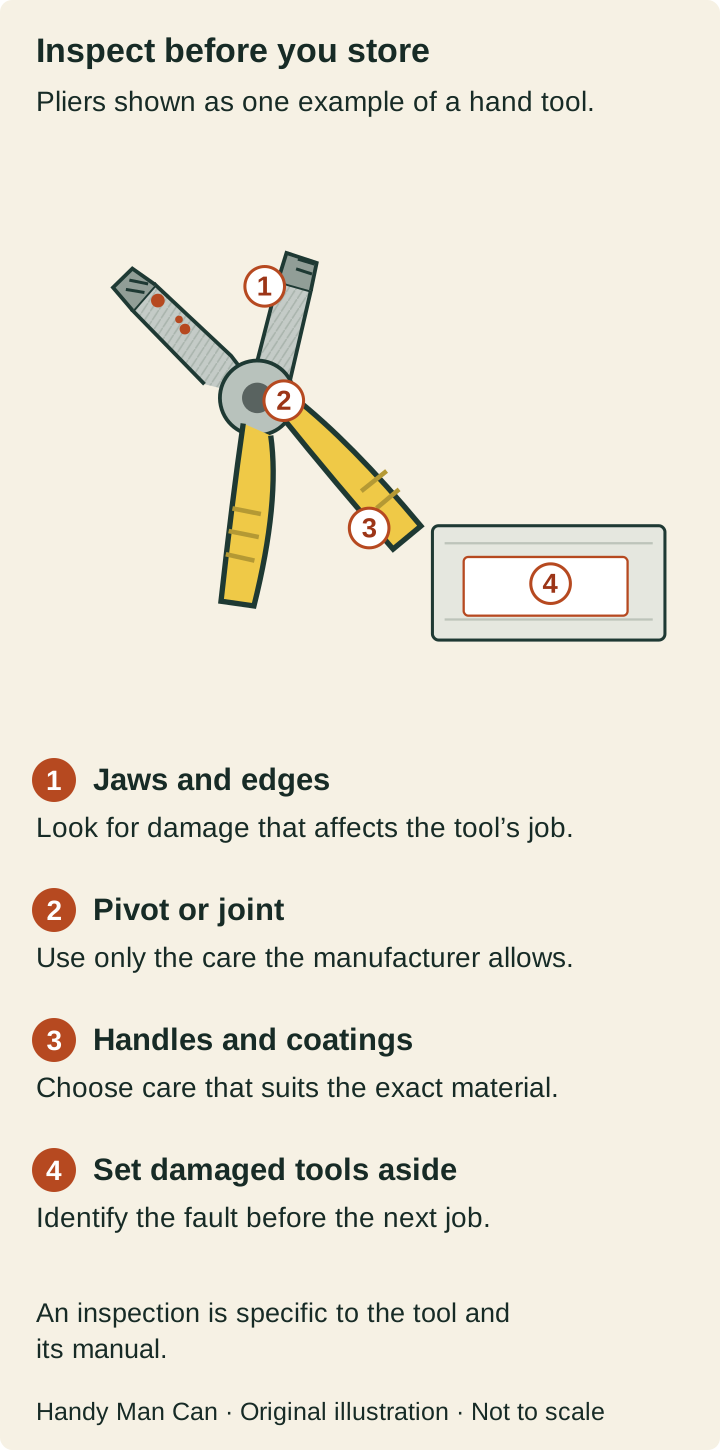
Look closely at the places that do work: jaws, tips, cutting edges, and the connection between the handle and head. Write down what you see in plain language instead of guessing whether a defect is still within an acceptable limit.
For example, “jaw does not close evenly” gives a repair service something concrete to investigate. “Probably fine after oil” hides the observation that you actually need to resolve.
Keep a questionable tool visibly out of use while you contact the maker or a qualified repairer. A short label prevents someone else from interpreting a clean handle as proof that the tool is ready.
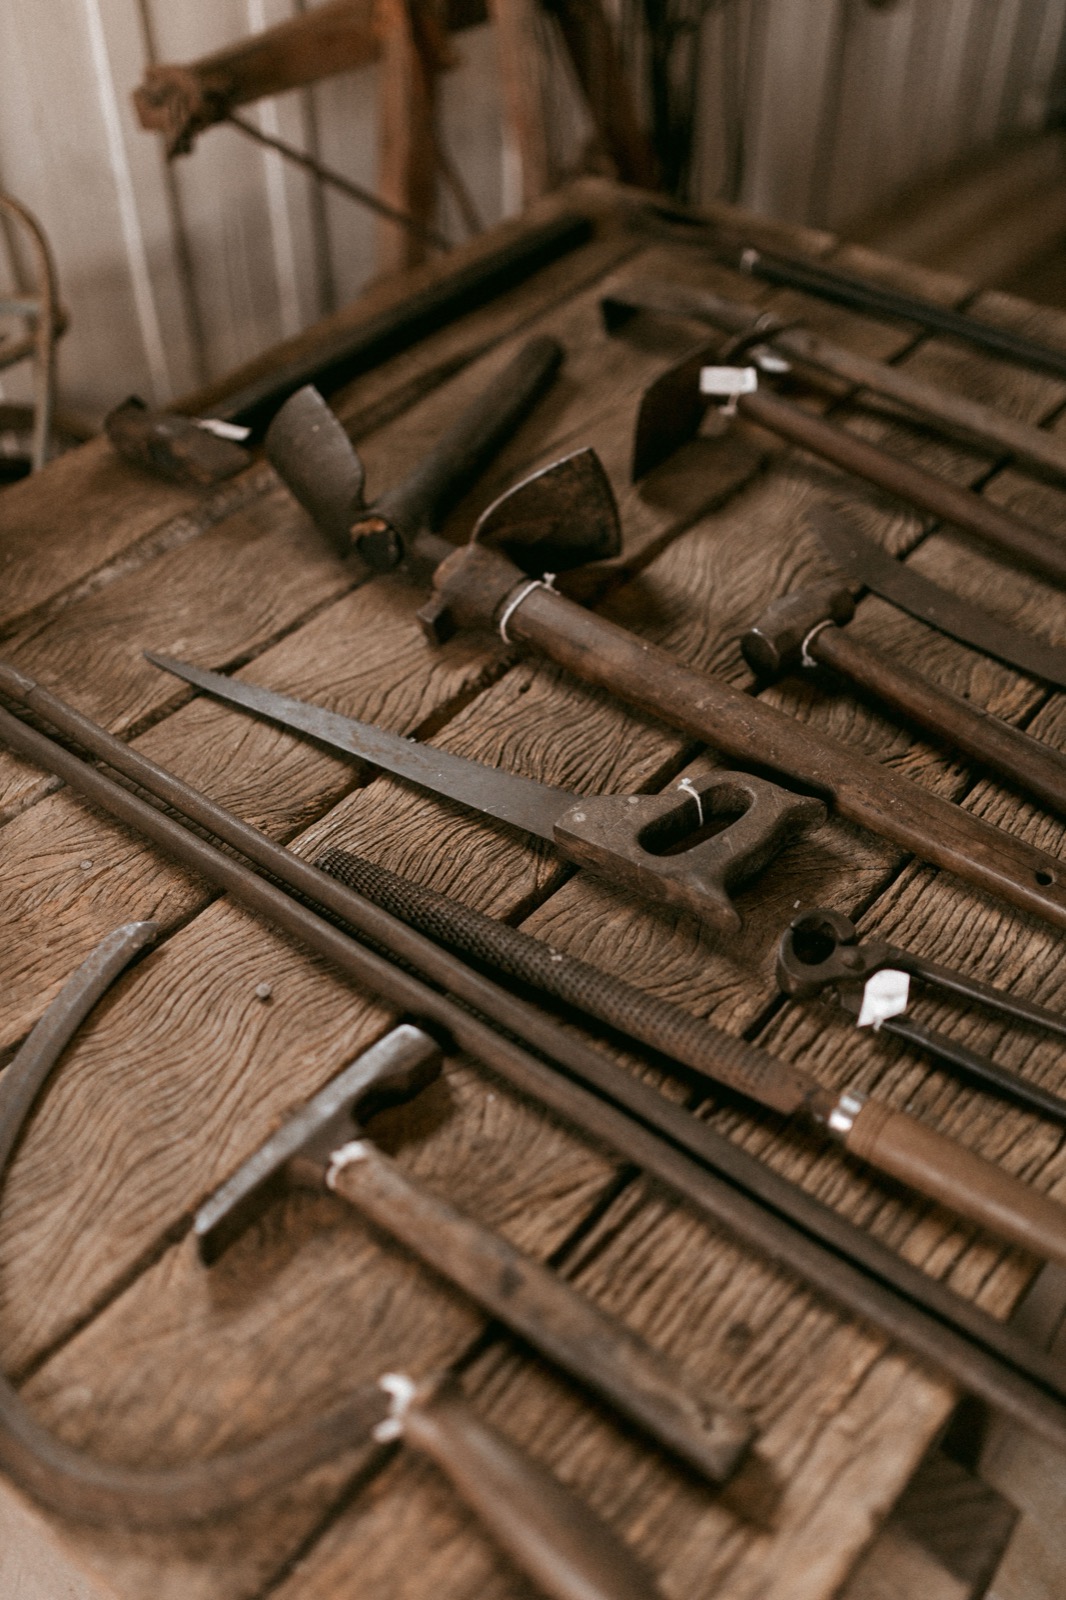
Match the method to the finish
KNIPEX’s care guidance for its pliers recommends a clean cloth and lukewarm soapy water for dirt and grease, while warning against harsh chemicals that can damage finishes. It limits its fine sanding-sponge rust treatment to non-chrome-plated tools.
That limitation is the important part of the example. Advice for bare steel is not automatic permission to scrub plated jaws, printed scales, handle coatings, or a tool you have not identified.
Read the label on the cleaner as carefully as the tool instructions. If either one excludes a material present on your tool, choose another documented method rather than testing the incompatibility on a visible surface.
Keep your first session deliberately small. Cleaning one correctly identified pair of pliers teaches you more about the routine you will repeat than spreading several different chemicals across your whole collection.
Do not assume an internet recipe is mild because its ingredients come from a kitchen. If a maker does not support the proposed treatment for the finish you own, ask for guidance before you soak, heat, or abrade the tool.
Give the bench a clear cleaning sequence
Put the instructions beside the tool and gather only the supplies they call for. Keep clean cloths apart from dirty ones so you can see whether the surface is actually becoming clean.
Work on one item at a time and return the cleaner to its designated place when you finish. That makes it less likely you will pick up the wrong bottle while concentrating on a stubborn patch.
Use a small note to record the method and date for an unfamiliar finish. If you later notice a change in appearance, you will have a useful record instead of trying to remember which treatment you used.
Stop when the next step would require a more aggressive method you have not checked. A clean, clearly assessed tool is a better result than a polished surface that conceals what you removed.
Keep light rust work conservative
Describe the affected area before you act: a small discoloration on an outer surface, a rough patch near a pivot, or a damaged working edge. Those observations help you ask the maker a useful question without pretending you can diagnose the steel by color.
Separate appearance from function throughout the job. Removing a brown mark does not demonstrate that a jaw, edge, spring, or load-bearing part still meets its original specification.
For a tool with an approved light surface treatment, protect the markings and parts that the instructions exclude. Follow the documented method, then inspect again rather than continuing until every historical mark disappears.
If you uncover pitting, cracking, loose components, or a problem you cannot classify, move the tool to the out-of-use tray. That gives you a clear stopping decision without inventing a universal depth limit for corrosion.
Finish the care job before putting the tool away
KNIPEX specifically calls for thorough drying, attention to moisture in joints, sparing lubrication at the pivot, and wiping off excess oil. Its instructions distinguish thin joint oil from the protective treatment suggested for some bare-steel versions.
Use that distinction to build your own instruction note for each tool type. Write down where a product belongs and where it does not, instead of treating “oil the tool” as a complete procedure.
Check the container label for handling and disposal directions for the product and used materials. Keep those materials in the appropriate place while you finish the session, rather than dropping them into the tool drawer.
Look at the storage container before returning clean tools to it. A damp bag, dirty drawer liner, or a pile of wet project scraps needs its own attention or you are simply moving your cleaned tools back into the same problem.
Build a routine you will actually repeat
Choose a care station that is close enough to your usual work area to use at the end of a job. It might hold the tool instructions, the approved care supplies, clean cloths, and labels for anything that needs service.
Keep the routine attached to the project rather than to an ambitious calendar. After a damp outdoor repair, for example, your project is not finished until the tools have received the care their instructions require.
If you share tools, give the out-of-use tray a location that everyone recognizes. Ask each person to describe the observed problem on the label instead of quietly returning an unreliable item to the drawer.
You can also keep one photograph of the correctly packed kit as a storage reference. The goal is to notice a missing item or an unexpected condition, not to create a display that is too fussy to maintain.
For borrowed tools, agree on the care method with the owner before applying any product. Return the tool with a short description of the work performed and any condition you noticed, so the owner can make the next decision with the same information.
That small conversation is especially useful for a tool with an unfamiliar finish or a maintenance history you do not know. Care starts with identifying what you have, including who is responsible for it.
Check the result at the next use
Before the next project, inspect the tool again in the normal preparation for that task. Your previous cleaning note is useful history, but it does not replace the condition check in front of you.
If a problem returns, investigate the storage environment and the maker’s recommended procedure before repeating the treatment. A smaller, well-understood collection that you can maintain is easier to work with than a larger drawer full of tools whose condition you keep guessing about.