When a screw will not move, stop before the driver destroys the recess. Your first job is to identify why it is resisting and preserve the useful grip you still have, rather than working through increasingly forceful tricks until something breaks.
This sequence is for ordinary, accessible household fasteners in work you can secure and understand. For electrical equipment, pressurized systems, safety-critical parts, valuable finishes, or an assembly you cannot identify, use the correct service procedure or get qualified help before proceeding.
Inspect before making another attempt
Take your hand off the powered tool and look closely at the head with good lighting. Separate a blocked recess from a rounded recess, and separate a screw that will not turn from one that turns freely without backing out.
Paint can bridge the head and surrounding surface, dirt can keep a bit from seating, and corrosion can bind an otherwise recognizable fastener. Those observations point toward different next steps, so do not label every resistant screw “stripped” before you have inspected it.
Check the assembly instructions for thread direction and any locking feature. Most familiar household screws use right-hand threads, but forcing an unfamiliar fastener based on that assumption is a poor starting point when a service manual could tell you what you are dealing with.
Photograph the assembly before removing parts and set aside a labeled place for each fastener. Even if the screw comes out easily after a small correction, you will still need to remember its location, orientation, and whether it should be replaced.
Put a small note beside the job describing what you tried before the pause and whether the head or attached part moved. If you return later, that record keeps you from repeating a failed attempt or forgetting that one nearby fastener has already been loosened.
Create access and secure the work
Support a loose panel, hinge, or removable component so it cannot suddenly drop or twist when the fastener releases. If removing the screw changes how the assembly is supported, plan that change first rather than discovering it with one hand on the screwdriver.
Clamp a small detached workpiece using suitable protection for its finish and keep your free hand out of the possible slip path. A secure setup gives you a chance to stay aligned without chasing the part around the bench.
Improve your view before adding force: move a permitted drawer, reposition the part, or choose a tool designed for the available space. If you cannot keep the driver square to the head, the access problem deserves attention before the screw does.
Restore the intended engagement
Remove loose dirt with a suitable non-damaging method while keeping debris out of the surrounding mechanism. If paint fills the recess or seals the head to a finish, consider the surface carefully before disturbing it, especially when the coating’s age and composition are unknown.
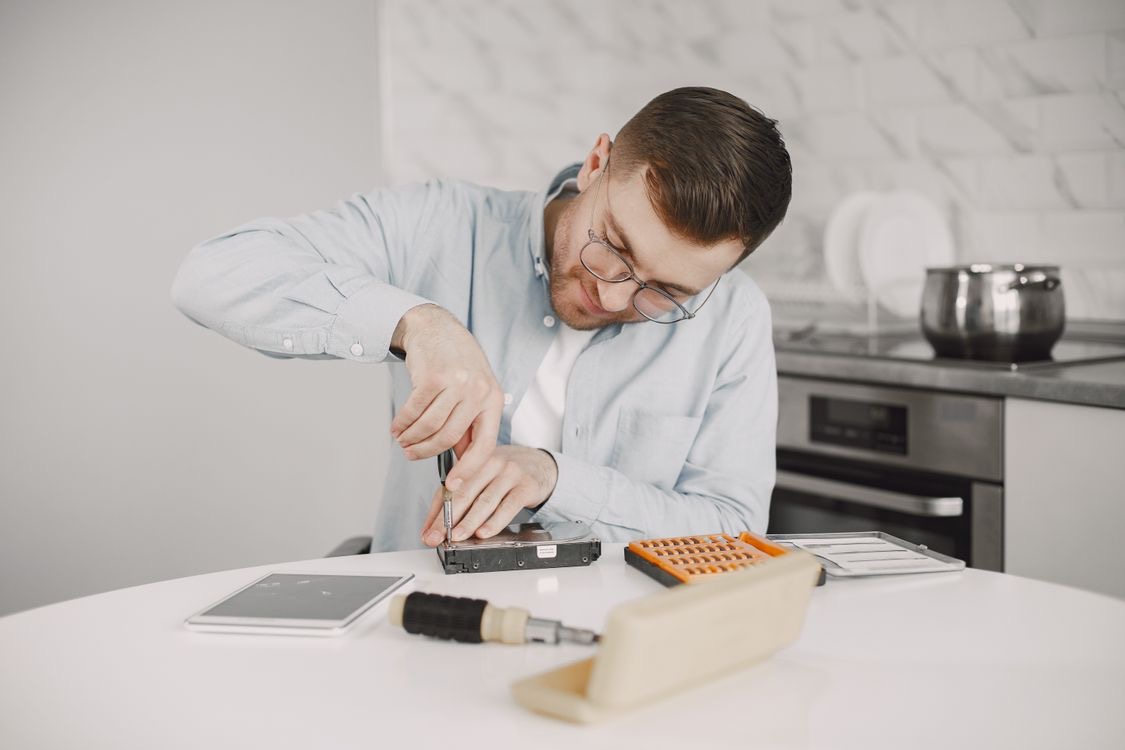
Select the exact drive profile and size, then compare a fresh matching tip if the one you used has visible wear. Test the fit manually without powering the tool, because a bit that rides high cannot transmit force as intended no matter how firmly you grip the handle.
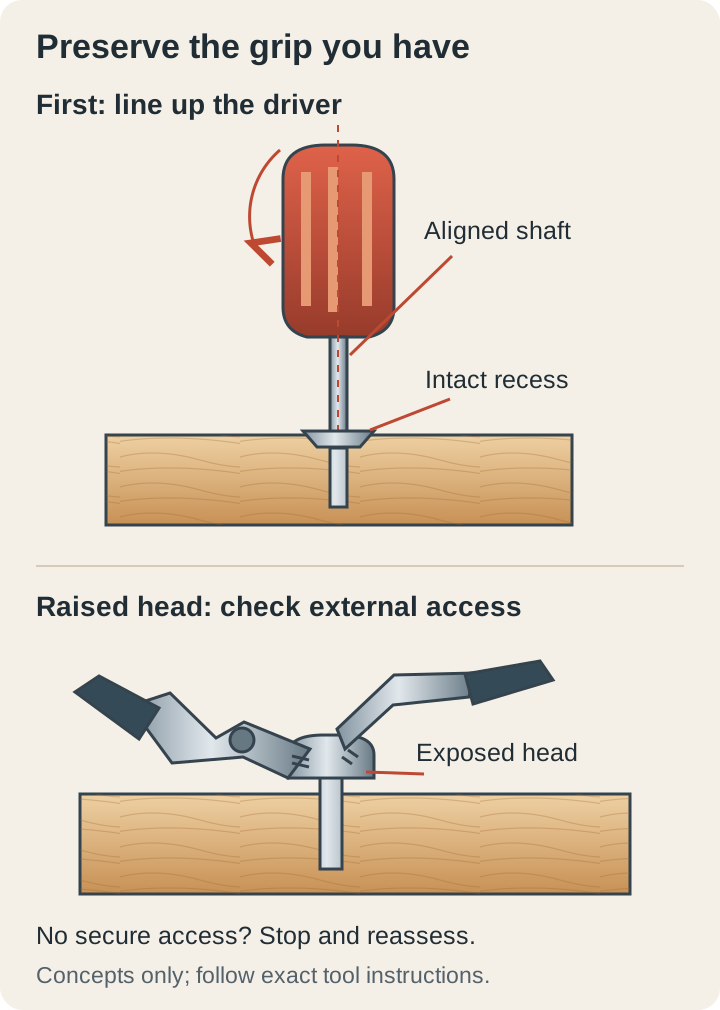
For an intact accessible screw, try a controlled manual turn while keeping the shaft aligned and the work supported. Stop if the tip begins climbing out, the recess deforms, or the assembly moves; repeating a slipping attempt spends the remaining usable metal.
Let the result choose the next step
If the screw starts backing out, continue slowly and watch whether the attached part changes position. Pause as necessary to support the part and contain loose pieces rather than rushing through the last few turns simply because the initial resistance is gone.
If the screw turns but does not rise, the problem may involve the receiving threads, an insert, or a rotating backing component. Inspect what you can actually see and consult the assembly instructions instead of assuming that an extractor will solve a screw that is already rotating.
If nothing moves and the drive remains intact, consider corrosion, a locking compound, or another assembly-specific cause. A screw that resists a reasonable aligned attempt is a signal to gather better information, not permission to use a longer lever on an ordinary screwdriver handle.
Consider a penetrant only when appropriate
For a compatible exposed metal connection affected by corrosion, a suitable penetrating product may be an option. WD-40’s screw-removal guidance describes penetration as one approach, but you still need the product label, material compatibility, and a safe application method for your actual assembly.
Protect nearby finishes, keep liquid away from prohibited locations, and follow ventilation, ignition, and waiting instructions on the product. Do not soak electronics, adhesives, wood finishes, or plastics simply because a spray is commonly used on rusty outdoor hardware.
After the specified waiting period, wipe the tool-gripping area as appropriate and make another controlled attempt with the correctly fitting driver. If there is still no useful movement, repeated spraying and force are unlikely to become a better plan without diagnosing what is holding the screw.
Evaluate an exposed head cautiously
A raised head sometimes leaves room for an appropriate external gripping tool, but only if you can engage it securely without slipping onto the surrounding surface. Choose the tool for that geometry and recognize that the screw head may be permanently marked or crushed.
Do not pry a flush head upward just to create gripping space in a finished panel. That can turn a fastener problem into torn veneer, bent hardware, or a broken component, so weigh the likely damage against replacement or professional removal before changing the part.
If a detachable low-value practice piece is available, use it to understand how the intended gripping tool closes and where it could slip. Practicing the setup is useful preparation, but it does not prove that the same method is suitable for a valuable or safety-critical assembly.
Treat an extractor as a planned operation
Extractors come in different forms for different damage and access conditions. IRWIN’s guide distinguishes internal screw extractors from tools that grip the outside of a damaged head, and its internal-extractor guidance calls for the correct drilled hole and specified drive tool.
If an internal extractor requires drilling, use the exact maker’s sizing and depth instructions and confirm that you can keep the hole centered. A generic drill diameter from a video is not a substitute for the extractor chart, fastener dimensions, and clearance behind your work.
Do not assume an extractor belongs in an impact driver or can tolerate unlimited torque. Follow the tool’s specified method, and stop before bending, breaking, or burying a hardened extractor creates a harder repair than the screw you began with.
Skip the destructive shortcuts until you understand them
Heat, hammering, grinding a new slot, and drilling off a head all change the risks and may damage nearby materials or mechanisms. They are poor automatic next steps for a beginner, particularly near finishes, hidden services, batteries, or parts whose function you have not identified.
You do not lose progress by stopping with the drive still partly intact. Take clear photographs, note which correctly fitted tool you tried and what moved, and give that information to a repair professional if the next operation exceeds your equipment or confidence.
Finish by correcting the original cause
Once the screw is out, inspect the receiving material, threads, and attached hardware before reassembly. Replace the damaged fastener with the specified type and dimensions, and follow the assembly’s seating or torque procedure rather than installing whichever spare screw fits through the opening.
Record why the first attempt failed, whether that was a mismatched tip, blocked recess, corrosion, or something still unresolved. A successful repair leaves a sound connection and a clear explanation, not merely an empty hole where a difficult screw used to be.